With PowerPoint, creating certificates is easy! To get started, simply follow these 5 steps. Keep reading to find out more information and sites for certificate generation.
The following article guides you through the steps of making certificates with Microsoft PowerPoint, a widely used program.
We’ll also discuss if PowerPoint is the ideal tool for organizing degrees and provide some other efficient certificate-issuing techniques. Let’s get started!
Why to choose MixCertificate for Digital Certifications ?
With good reason, digital badges and awards have become more popular in recent years. Here’s why they’re a great option:
- Simple to Share: Recipients can distribute their certificates on social networking sites with ease.
- Safe and Genuine: For more trust, they may contain certified digital signatures.
- Effortless Delivery: You can provide them by email instead of having to distribute them in person.
- Trusted Verification: Third-party certificate authorities are able to verify them.
- Valuable Incentives: Ideal for acknowledging the achievements of team members, students, or participants.
- 0 Loss on Revenue:
Digital certificates are the best option if you’re looking for methods to thank students, webinar participants, or project collaborators!
The best part is that there is an excellent tool to make the procedure easier.
Mi is here to replace Microsoft PowerPoint.
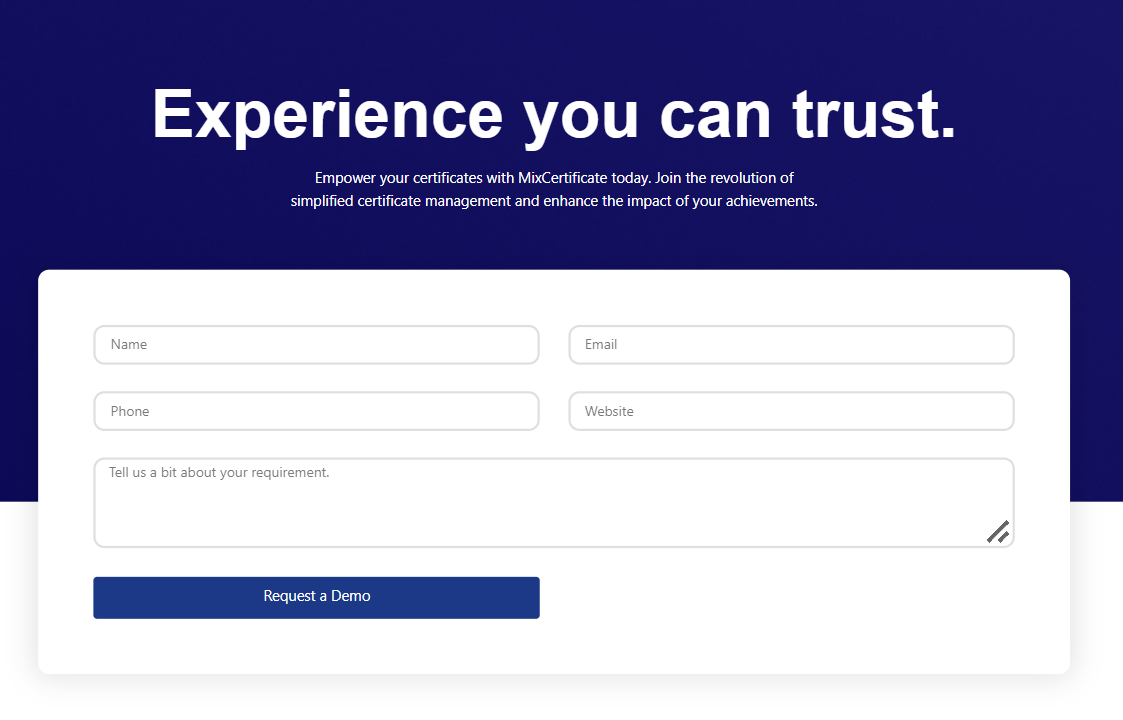
About MixCertificate By MixCommerce
A flexible and easy-to-use platform for reproducing and disseminating expert digital certifications is MixCertificate by MixCommerce. It is ideal for educators, event planners, and corporations because of its configurable templates, mass generating capabilities, and smooth email distribution. In addition to having features like digital signatures and QR codes for validity, certificates may be customized to match the visual identity of your company. MixCertificate, which is made for simple social media sharing, increases company awareness while assisting you in acknowledging accomplishments. Visit MixCertificate by MixCommerce to examine its features and expedite the certificate issue procedure.
https://www.mixcommerce.co/mixcertificate/

Now,we will show you the process of creating certificates in PowerPoint,
How to create a PowerPoint certificate template?
Step 1: First, create a blank PowerPoint presentation.
Step 2: Select and type the wording for the certificate.
Step 3: Select the background for the PowerPoint certificate template image.
Step 4: Include elements in your ppt certificate design.
Step 5: Save your work and forward it to the appropriate individuals.
Step 1: Create a blank PowerPoint presentation
First, make a PowerPoint presentation that is blank.
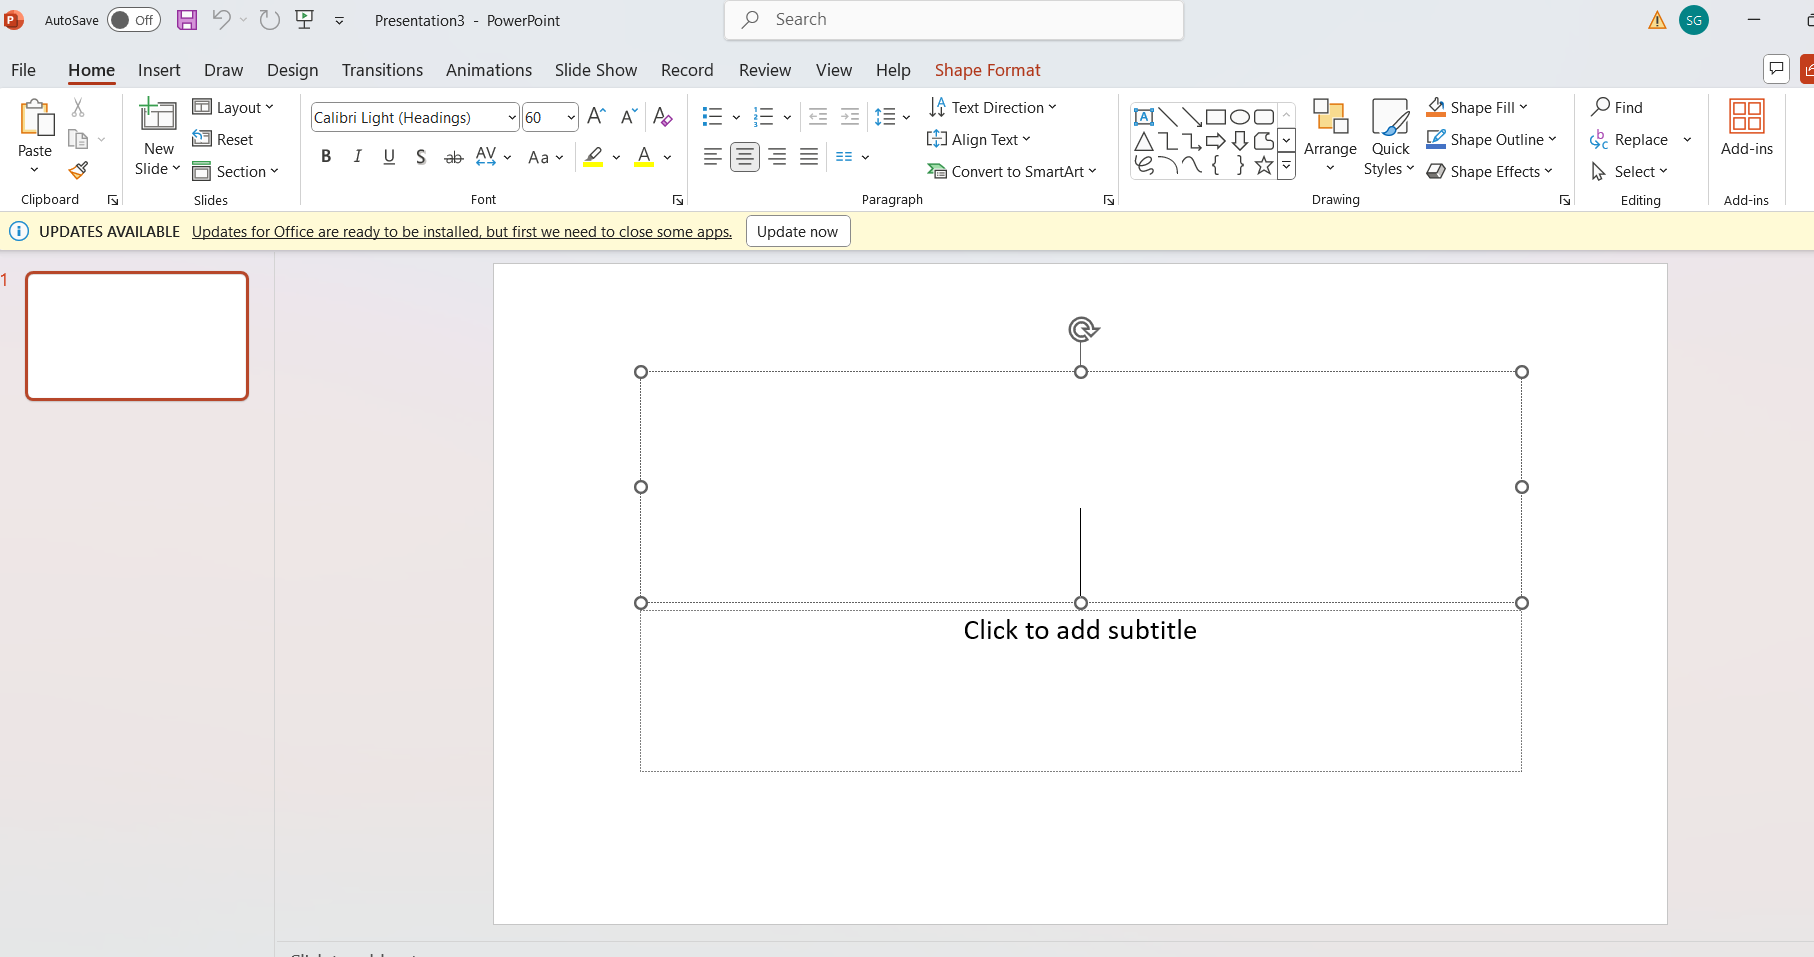
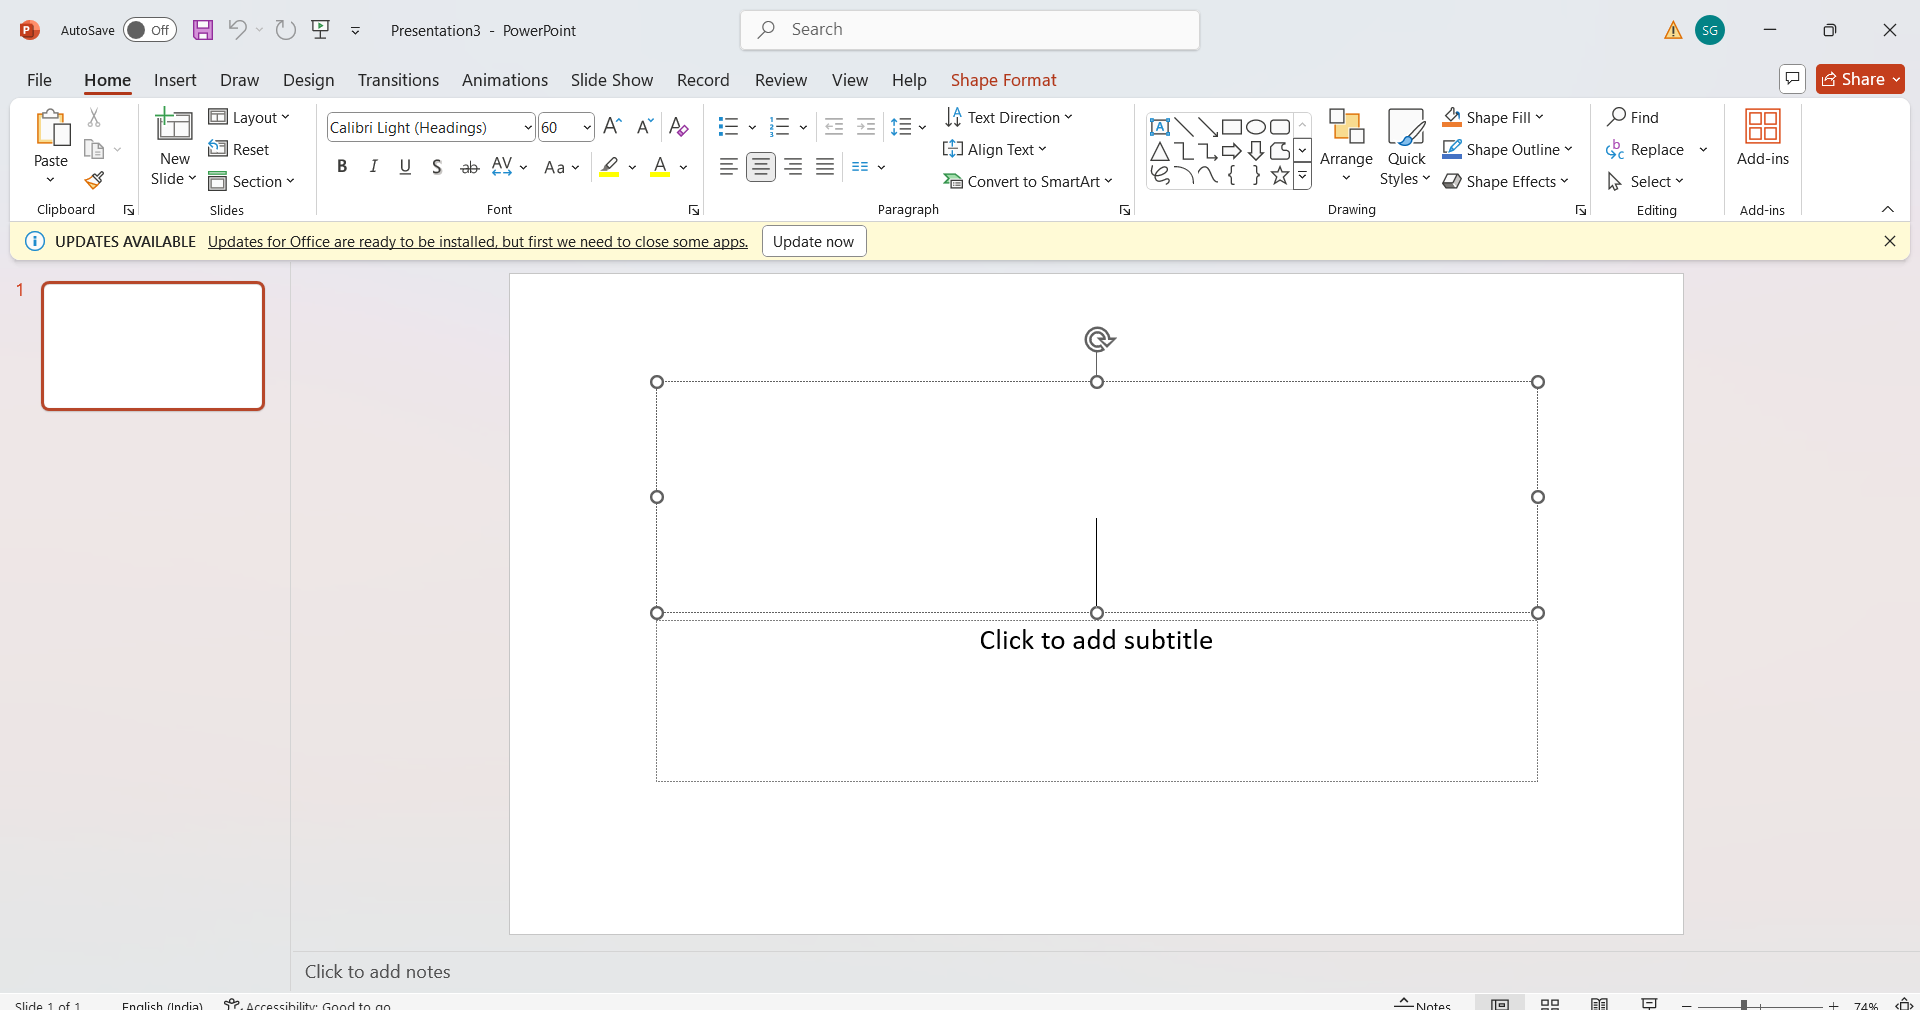
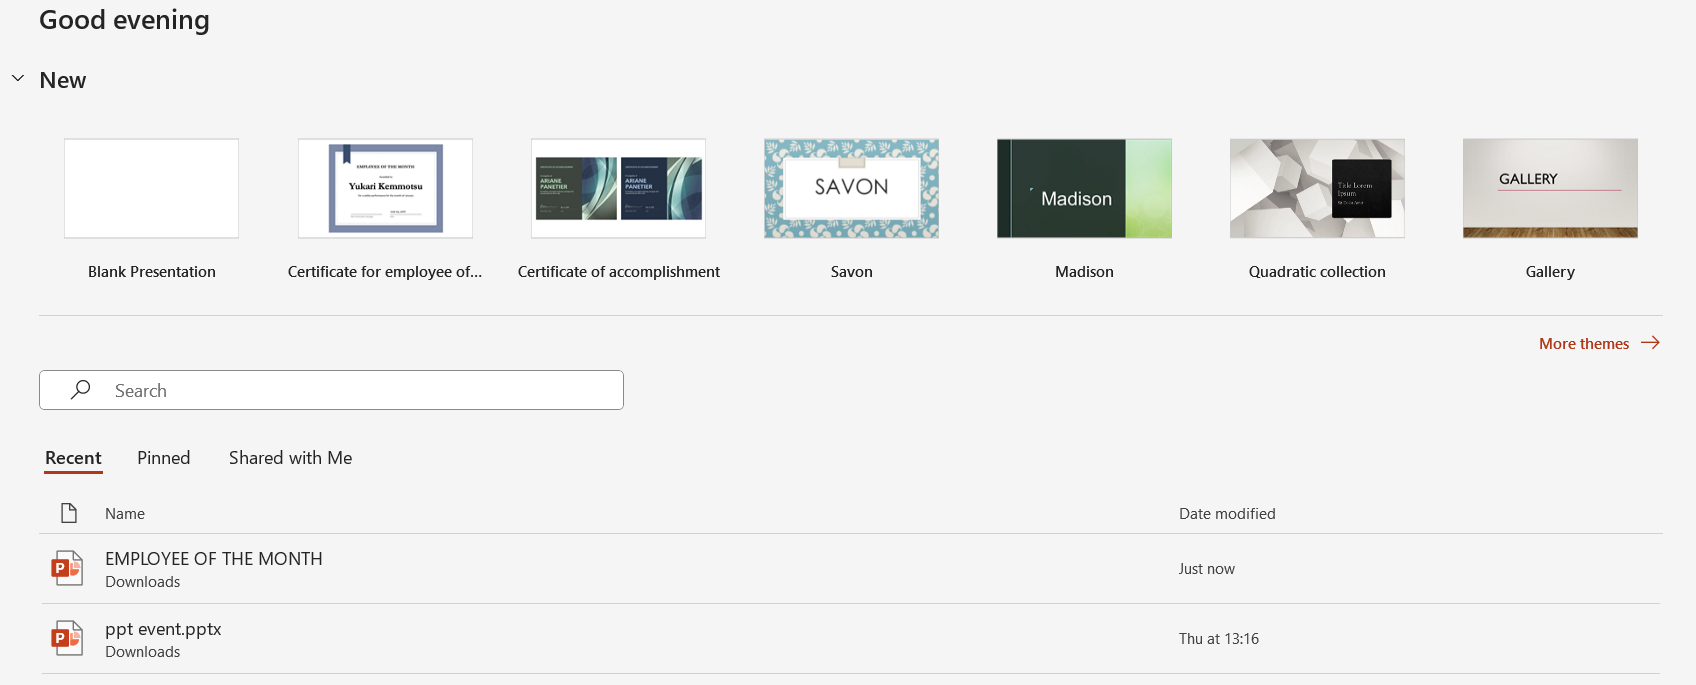
Open PowerPoint first, or download it if you don’t already have it. There are alternatives for blank slides and readily customizable certificate templates. Choosing the blank presentation option will allow us to begin the work at hand from the beginning.A white slide will show up once you pick it, and this will be your blank canvas on which to create the certificate.
The Menu bar is located at the top, and a themes panel that may be closed if not in use is shown on the right. Any new slides you add will be shown on the left panel, which also displays a preview of your slides.
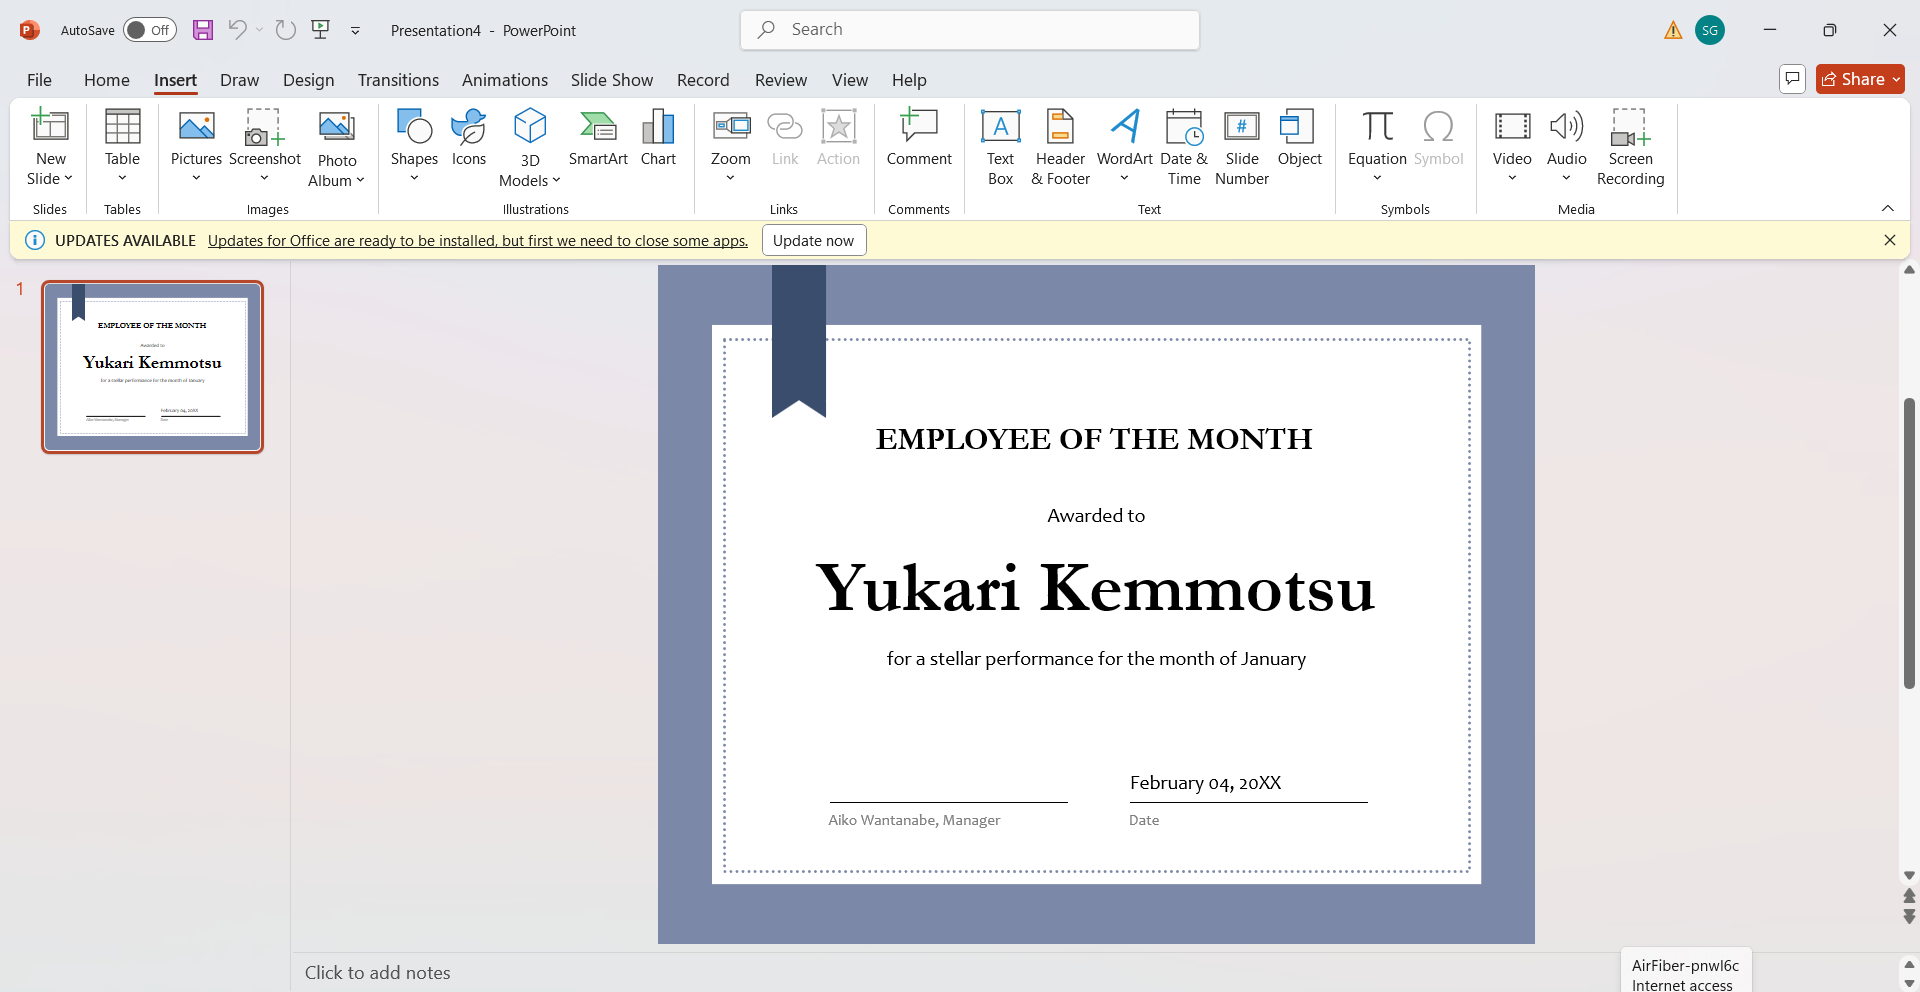
Step 2: Select and type the wording for the employee of the month (suppose)
We can proceed if the description from the previous step appears on your screen. Let’s start by adding and clarifying the wording.
Click on the placeholders to add text that says To enter the title, click Add Title. To add more material, click Add Subtitle.
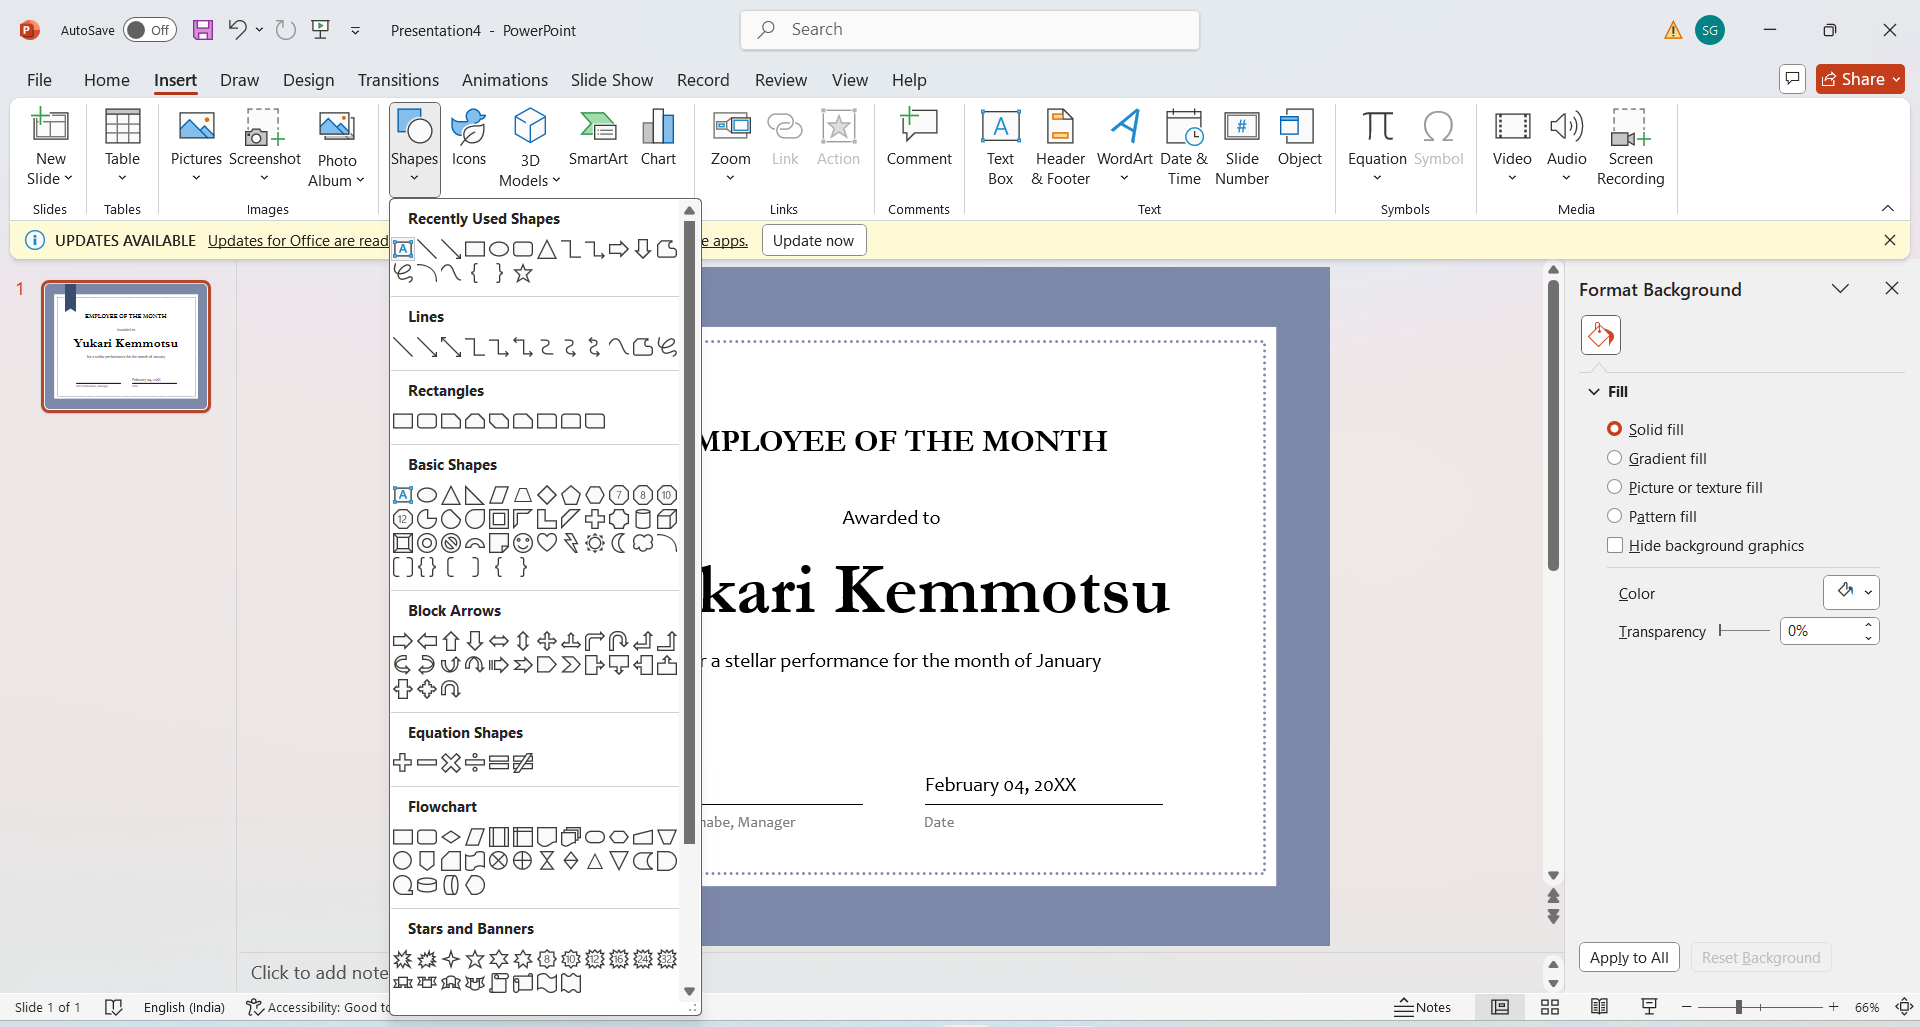
Select the Insert option from the menu if you want a new text box. An icon with a “A” inside a rectangle may be found on the left. You can add a new text box to your slide by clicking on this button.
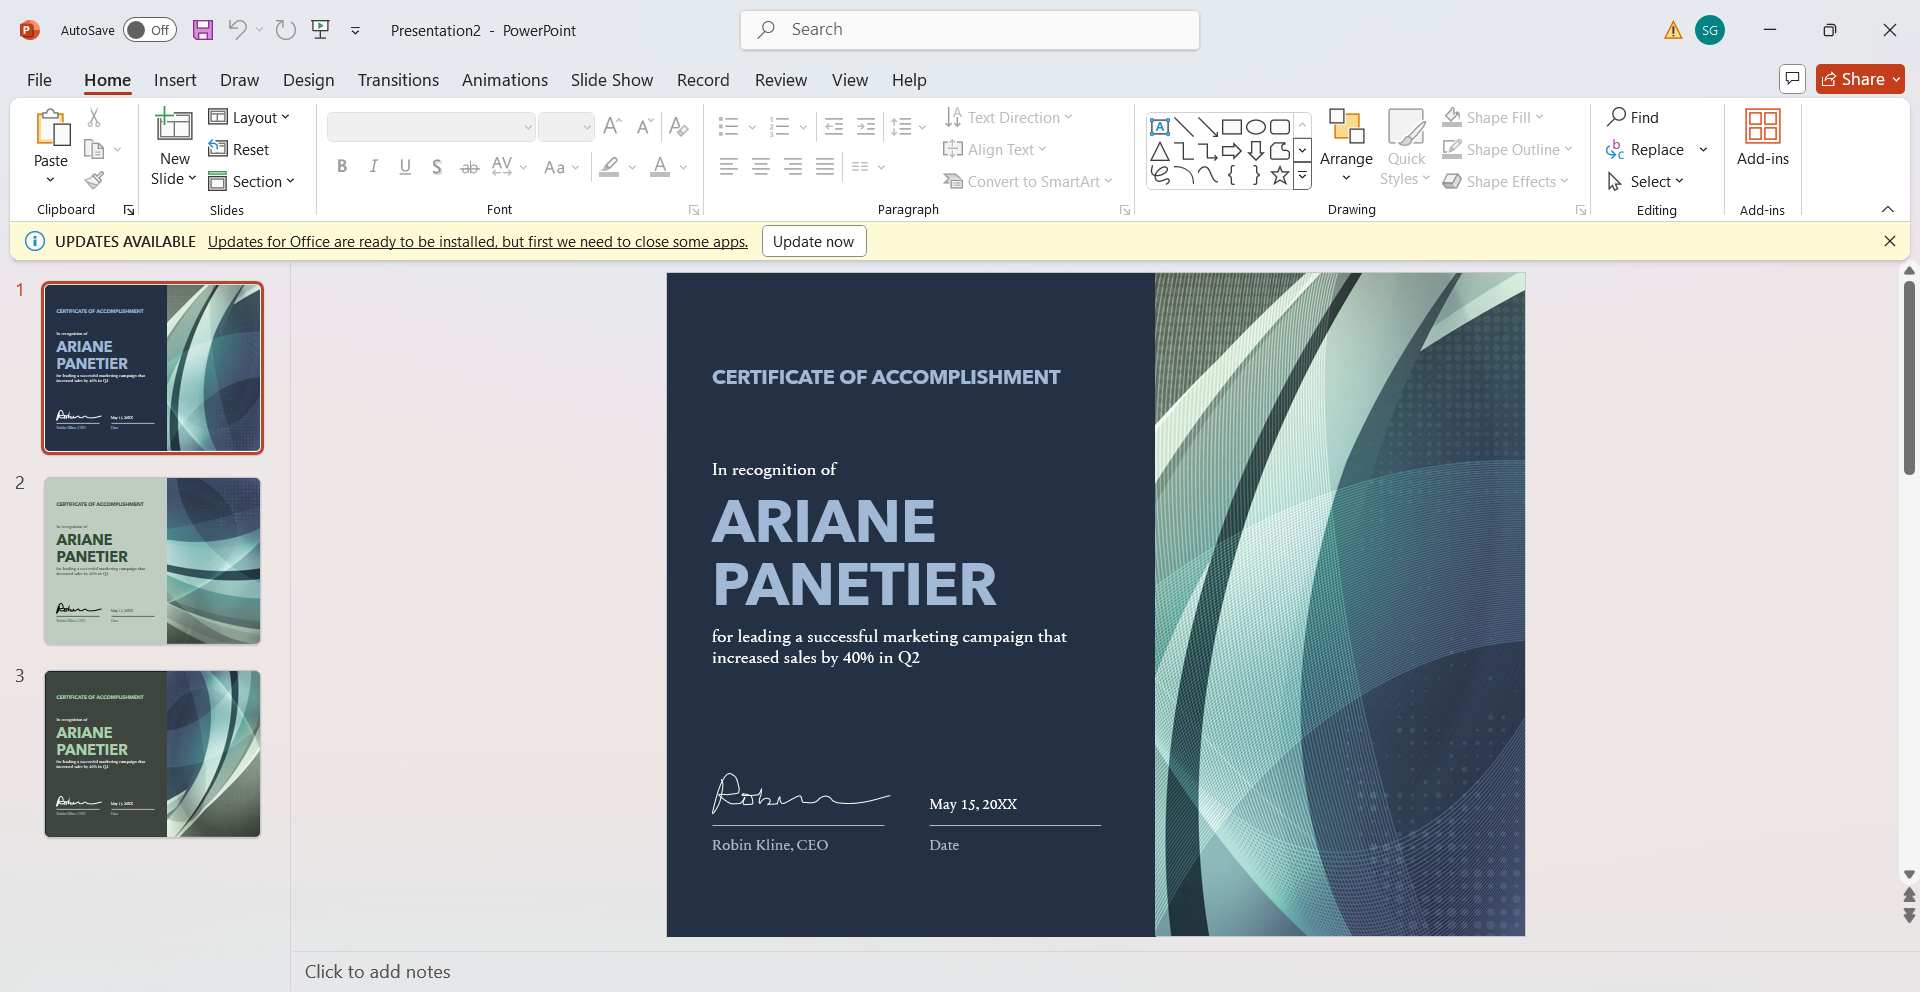
Take careful consideration to the text you want to use and arrange it on the slide in the place that you want. For example, as we already shown.
We selected two fonts, Calibri and Brush Script MT, and arranged the components so that the recipient’s name and the certificate’s purpose are seen in the middle.
Feel free to choose typefaces that complement your design and arrange the text wherever you see appropriate. To prevent it from becoming divided out when printing, just make sure the text is not positioned too near the edges.
Step 3 : Select the background for the PowerPoint certificate template image.
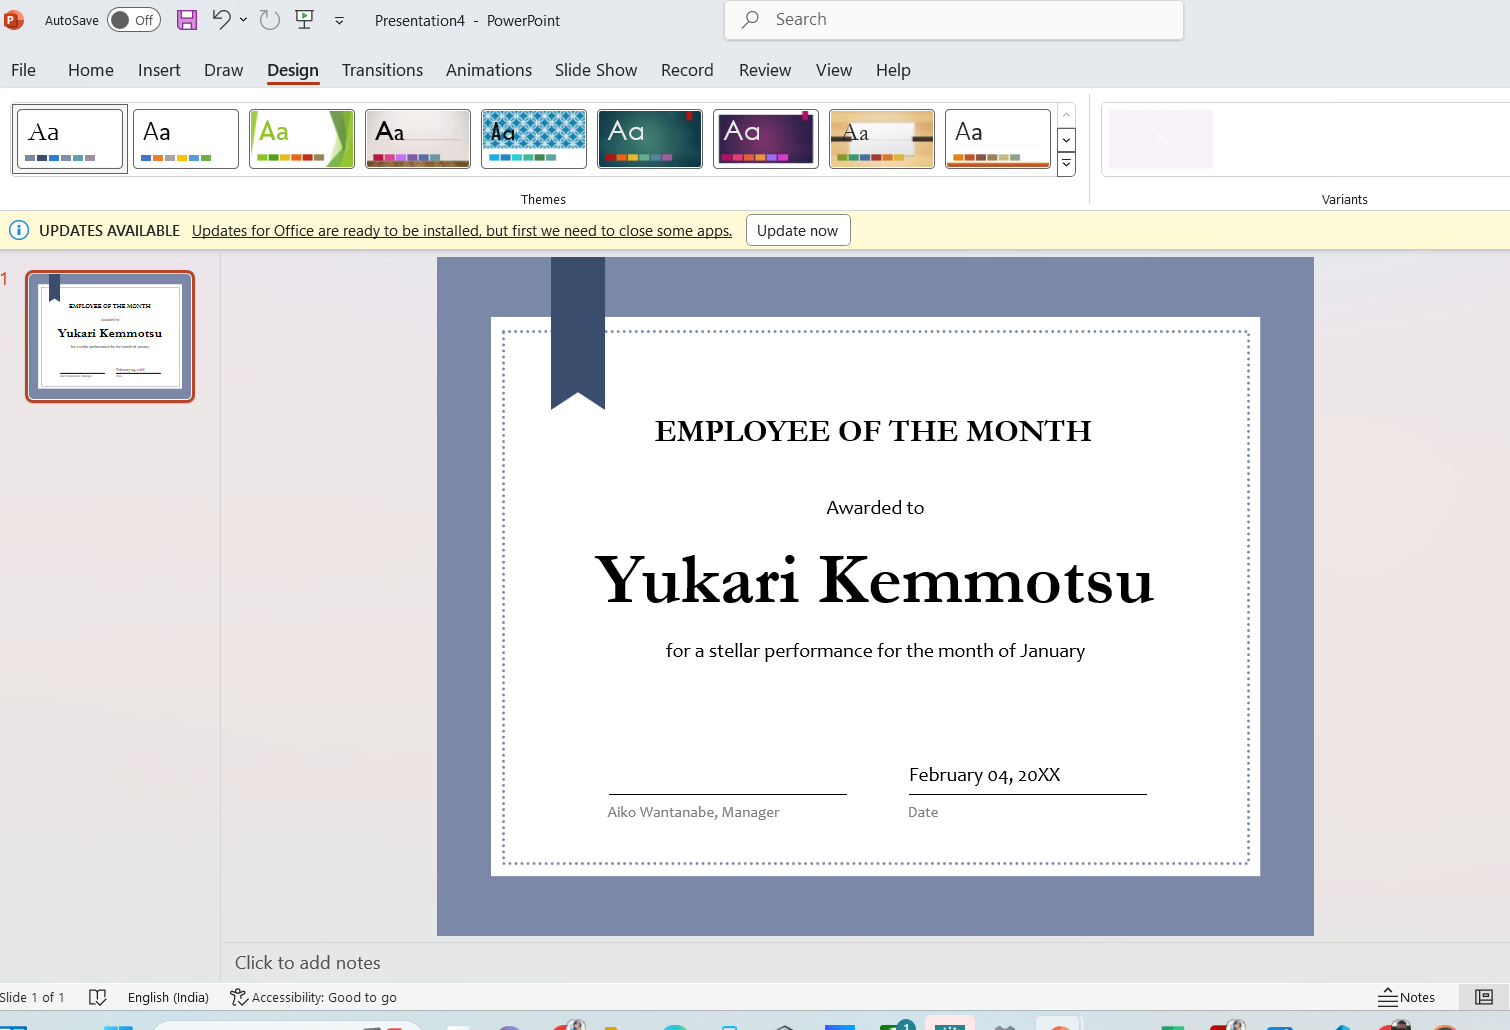
Select the certificate’s background color now. PowerPoint has a variety of color selections that you can apply to populate the entire slide.
To perform this, identify the rectangle tool from the Drawing area of the Menu, then draw a shape that is the same size as your presentation.
Next, apply the color of your choice to the whole rectangle. Go to the Shape Format tab, find Shape Styles, and choose Shape Fill to do this. A white backdrop is also a fantastic choice if that’s your preference.
You may improve the design by including more components for a more eye-catching appearance.
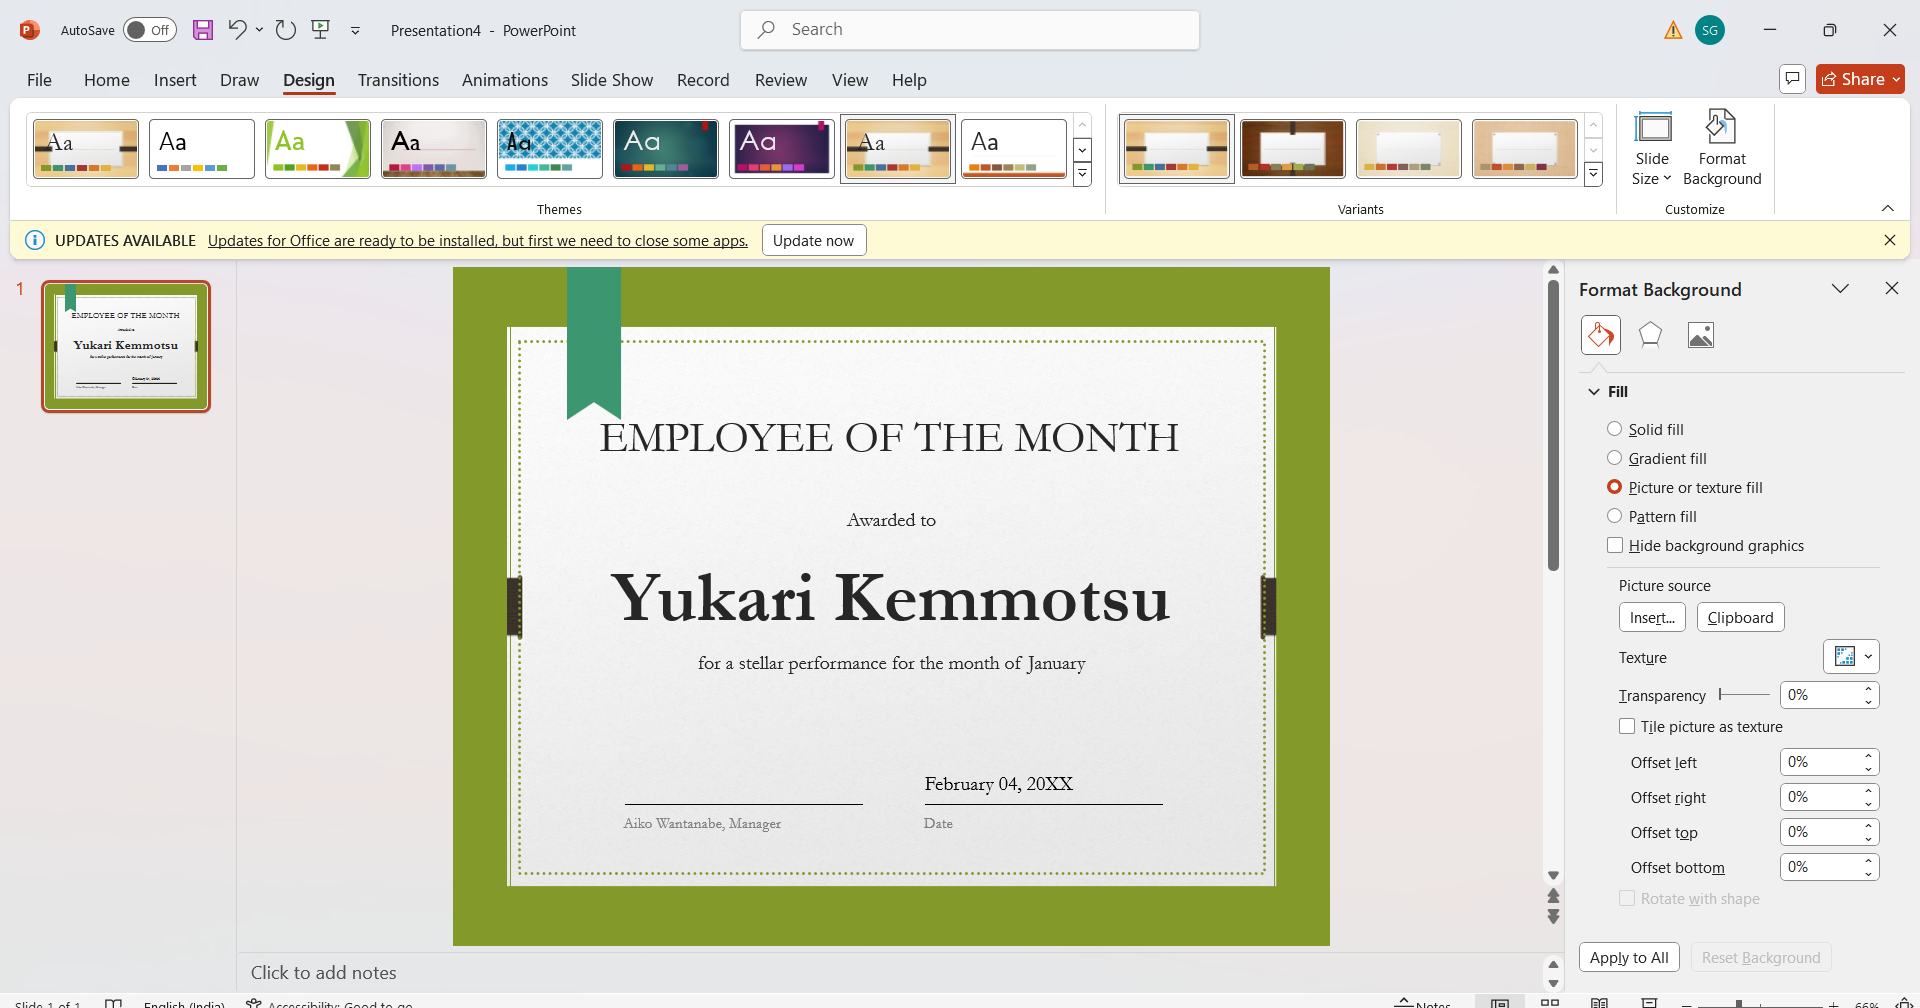
As an alternative, you may look for pictures online that fit the webinar, event, or course topic and use them as your background. Better still, locate an image that fills the full slide backdrop and fits precisely.
Choose a background of your choice.
Step 4: Include elements in your ppt certificate design.
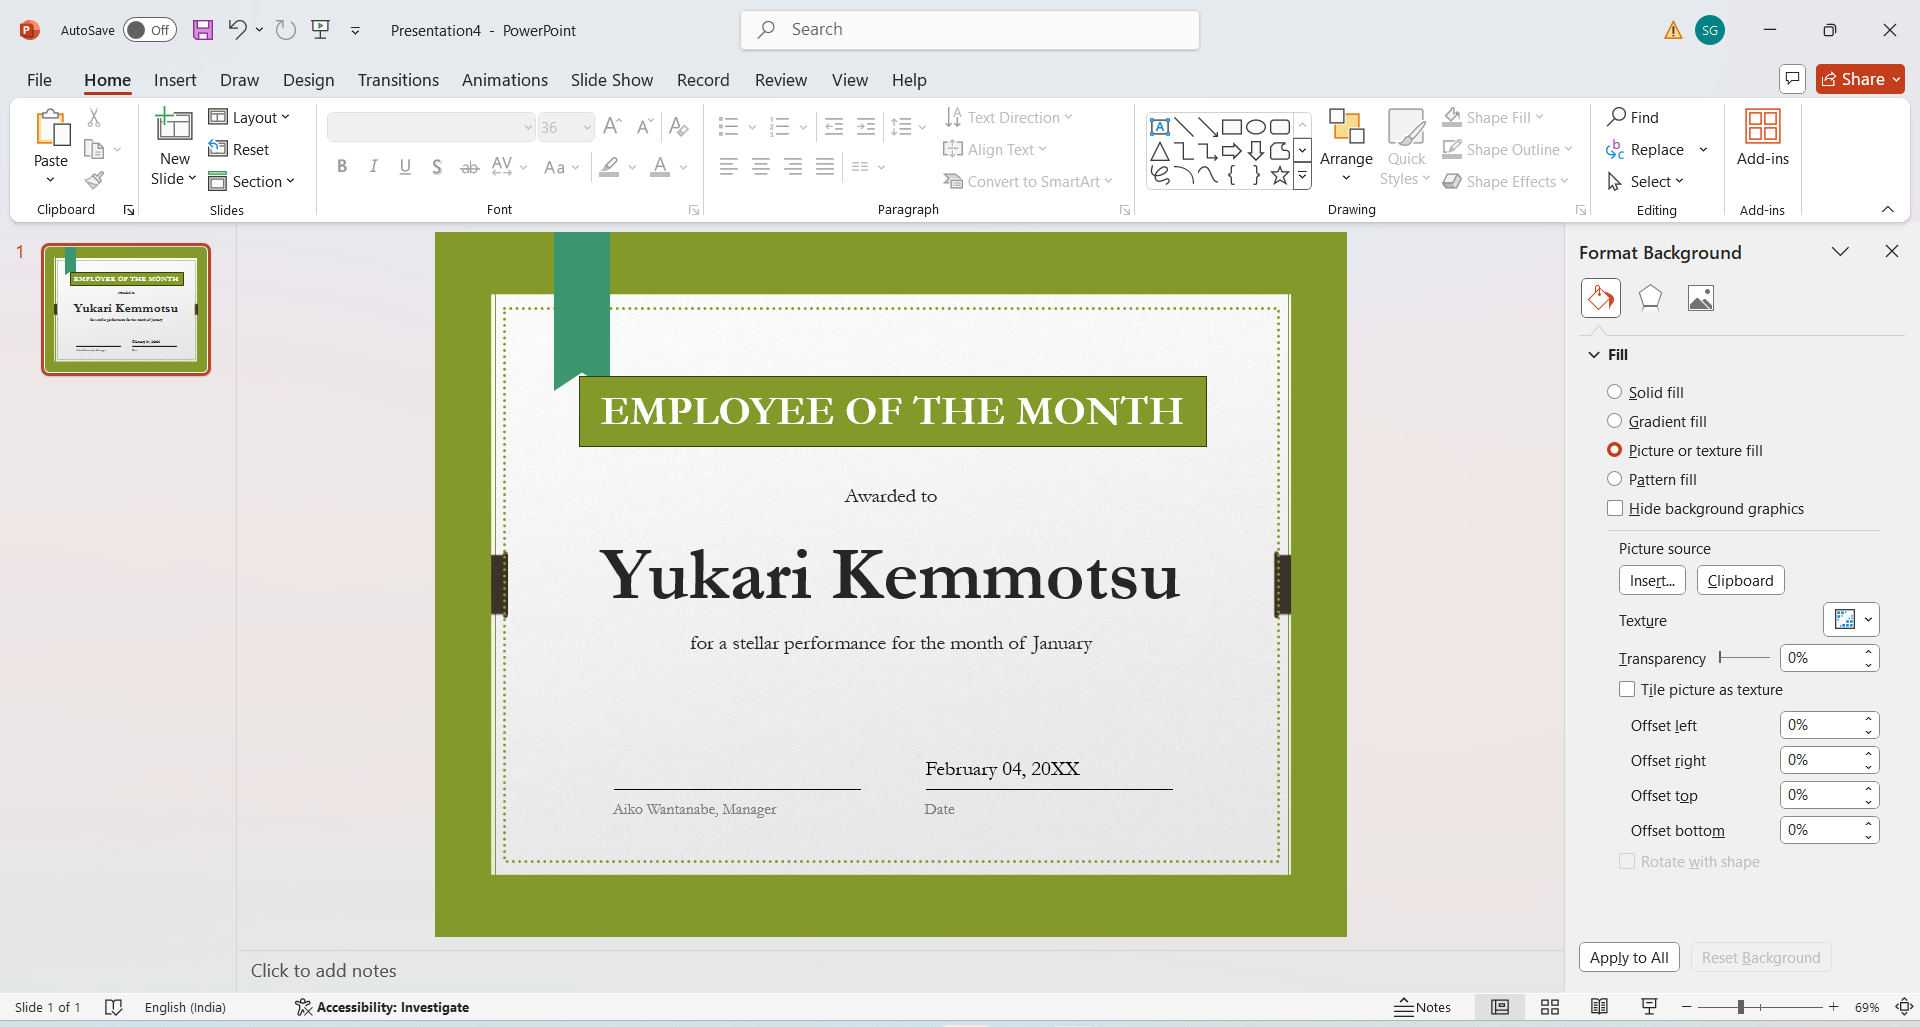
Now that the text and backdrop have been established, the last details need to be added. You are able to add whatever you like to improve the design. To make the certificate’s title stand out more, for instance, we’ll draw a rectangle underneath it. Additionally, we’ll change the font color to blend in with the general style.
Just as we did before, choose a rectangle from the Drawing section, draw it how you see fit, and then fill it in with color. Since adding more visuals might make the certificate more difficult to read, we will refrain from doing so. It appears polished and prepared now.
Step 5: Save your work and forward it to the appropriate individuals.
Just select File and then Save or Save As to save your project.
When you’re finished, you may email the certificate to the attendees of your event, but be sure to keep it in a convenient place.
Your file got saved.
Why are certificate presentations not the ideal option for creating certificates?
Due to their lack of features like digital verification, tracking recipient engagement, customization options, and professional design capabilities, certificate presentations—which are essentially just handing out printed paper—are frequently not thought of as the best option for creating certificates. This is because they may be less effective and more challenging to manage, particularly when dealing with a large number of recipients.
Certificate presentations may not be the ideal option for the following main reasons:
- The system isn’t a premium certificate.
First of all, keep in mind that PowerPoint is not a system specifically designed for creating certificates. Not to mention drop-down menus, pre-made certificate elements, ready certificate layouts, certificate styles, etc., you won’t find many essential things there.
- There are a limited number of free certificate templates available in PowerPoint. Furthermore, there is one major drawback to adopting these award templates: because they are so widely used, your rivals may be able to utilize them as well. Because of this, you are forced to either make a certificate from scratch or look for alternative fantastic certificate template designs online.
- Using PowerPoint to create online documents might be time-consuming. Let’s say you wish to send 50 recipients certificates. You will need to manually input each recipient’s name in PowerPoint.There is no feature in the program that allows you to manually enter the names of the participants in the document. And as a result, clients will no longer receive certifications as quickly.
- Sending certifications in bulk, which enables you for communicating all of your papers at once, is not an option in PowerPoint. Instead, you may email papers using the usual format, which is, suprise!, manual
Even with 50 people awaiting their documents, this is a major annoyance, especially if your course has more participants.
Watch this video to see how to make a certificate in PowerPoint fast.
MixCertificate by Mixcommerce is a digital method for creating and verifying certificates, MixCertificate was created to make the whole certificate process more efficient. Bulk certificate production, customized templates, quick distribution by automatic email or secure download links, and a web-based platform that can be accessed from any internet-connected device are just a few of its advantages. Furthermore, MixCertificate offers certificate verification via digital badges, role-based access control, data analytics, social media sharing options, and an integrated Verification API.
Businesses, educational institutions, and event planners wishing to effectively handle and distribute certificates may find this platform very helpful. By automating certificate procedures, adding credibility with verification features, and providing customized certificate designs, it increases productivity and guarantees that recipients value what they have achieved.
Visit MixCertificate By Mix Commerce

The best methods for making a PowerPoint certificate template
- Select a Professional Design and Layout: Begin with a neat, polished layout that accurately conveys the certificate’s objective. For ease of printing, choose conventional sizes, such as A4, and pick a backdrop that complements the text without affecting it. Use solid colors, gradients, or simple designs to keep the text in focus.
- Prioritize readability and font choice by using professional, readable fonts for the text, such as Century Gothic, Times New Roman, or Calibri. Make sure the headline sticks out by making it bold and utilizing a higher font size. Avoid using attractive fonts that can make it difficult to see, and keep the recipient’s name and other important information a little larger.
- Add Placeholders and Branding: Provide placeholders for essential details such as the date, event title, recipient’s name, and signature. To enhance branding, place your company’s logo at the top or bottom in an obvious but subtle manner. A carefully positioned brand gives the certificate authority and a professional appearance.
- Test and Save for Reuse: Print a test copy to verify alignment, color, and look before completing. To avoid cropping while printing, make sure every piece is inside safe margins. After you’re happy with the design, save it as a PowerPoint template (.potx) so you may use it effectively for other certificates in the future.